Sift User Guide
3. Cases and Documents
A case is a named collection of transcripts and exhibits in Sift. Your cases are saved on your computer. They remain available after you close Sift.
Your First Case includes illustrated instructions for creating a case and adding documents.
Reopen a Saved Case
These steps begin with no case open on the Sources page.
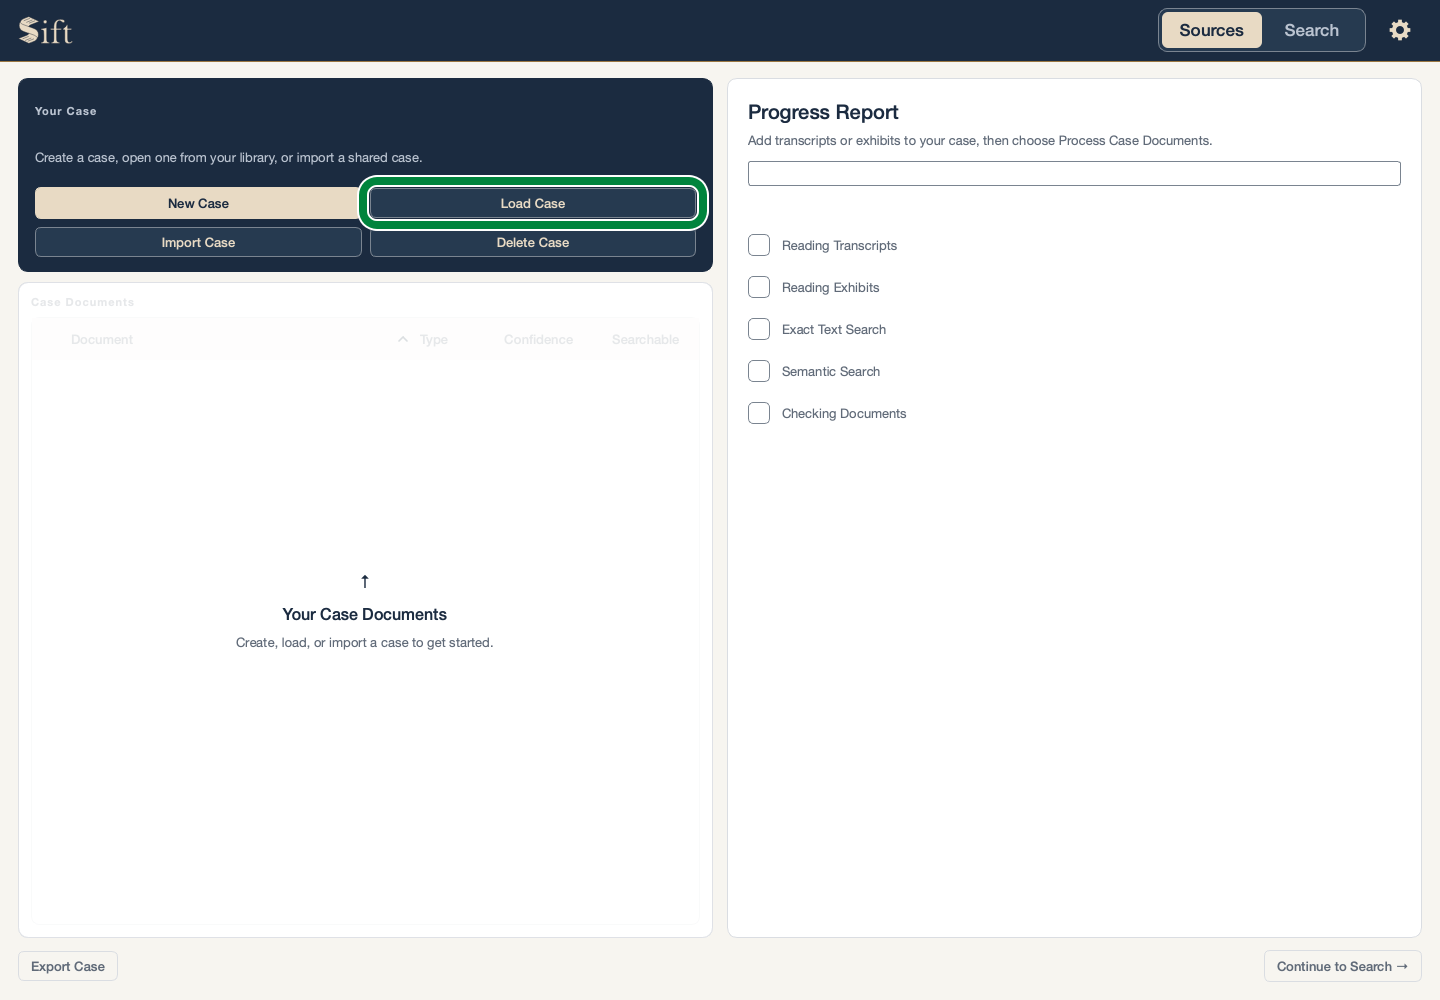
Click Load Case. A window lists your saved cases.
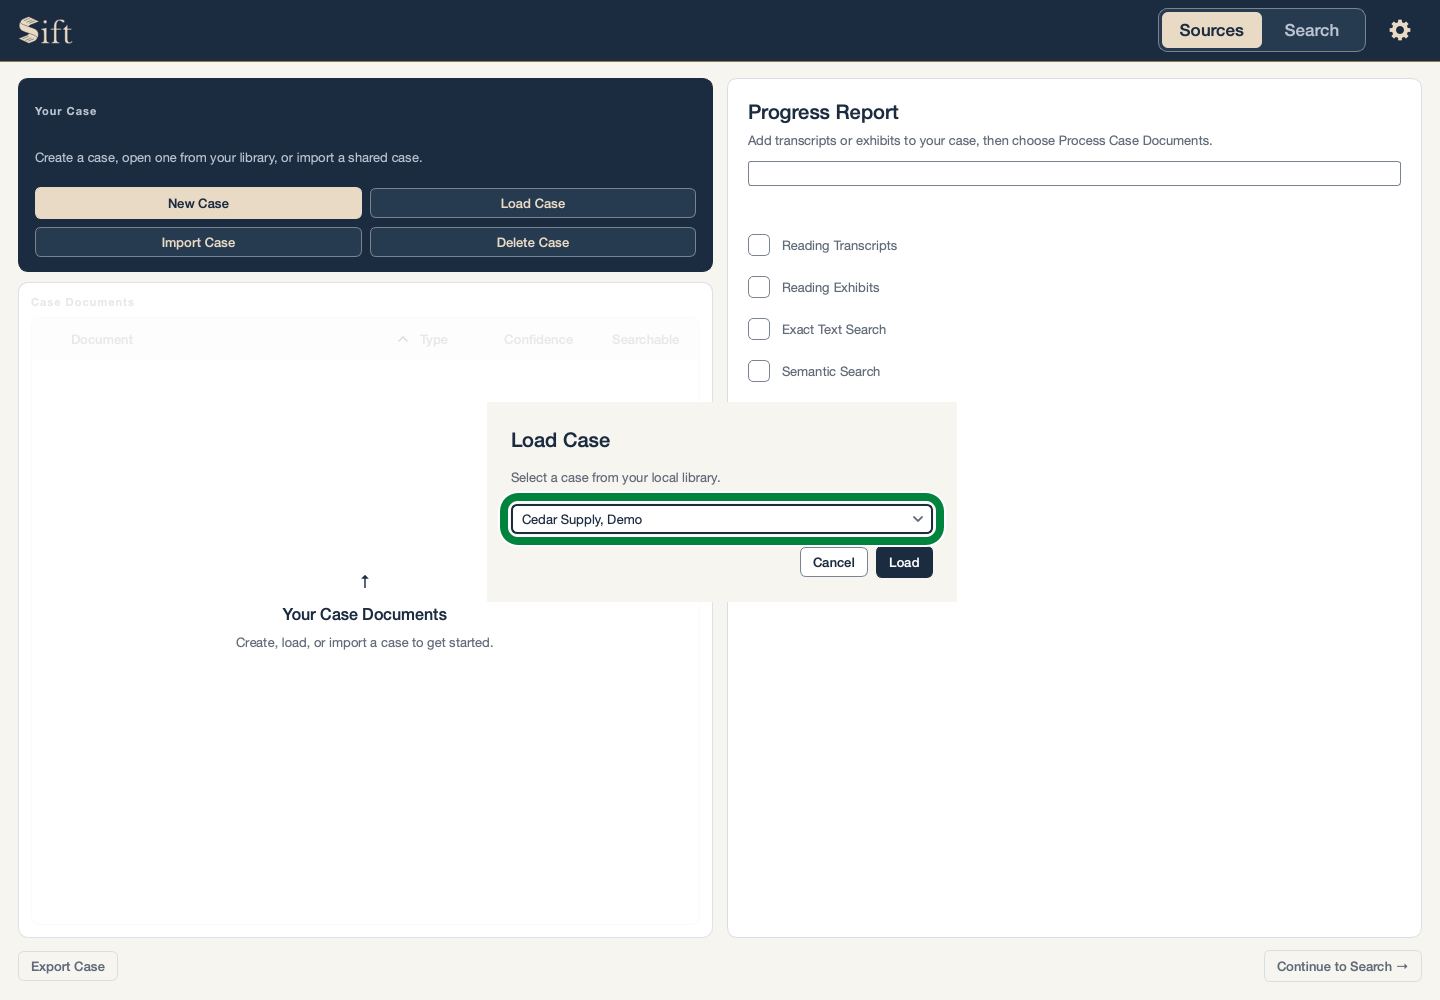
Choose the case name from Saved Cases.
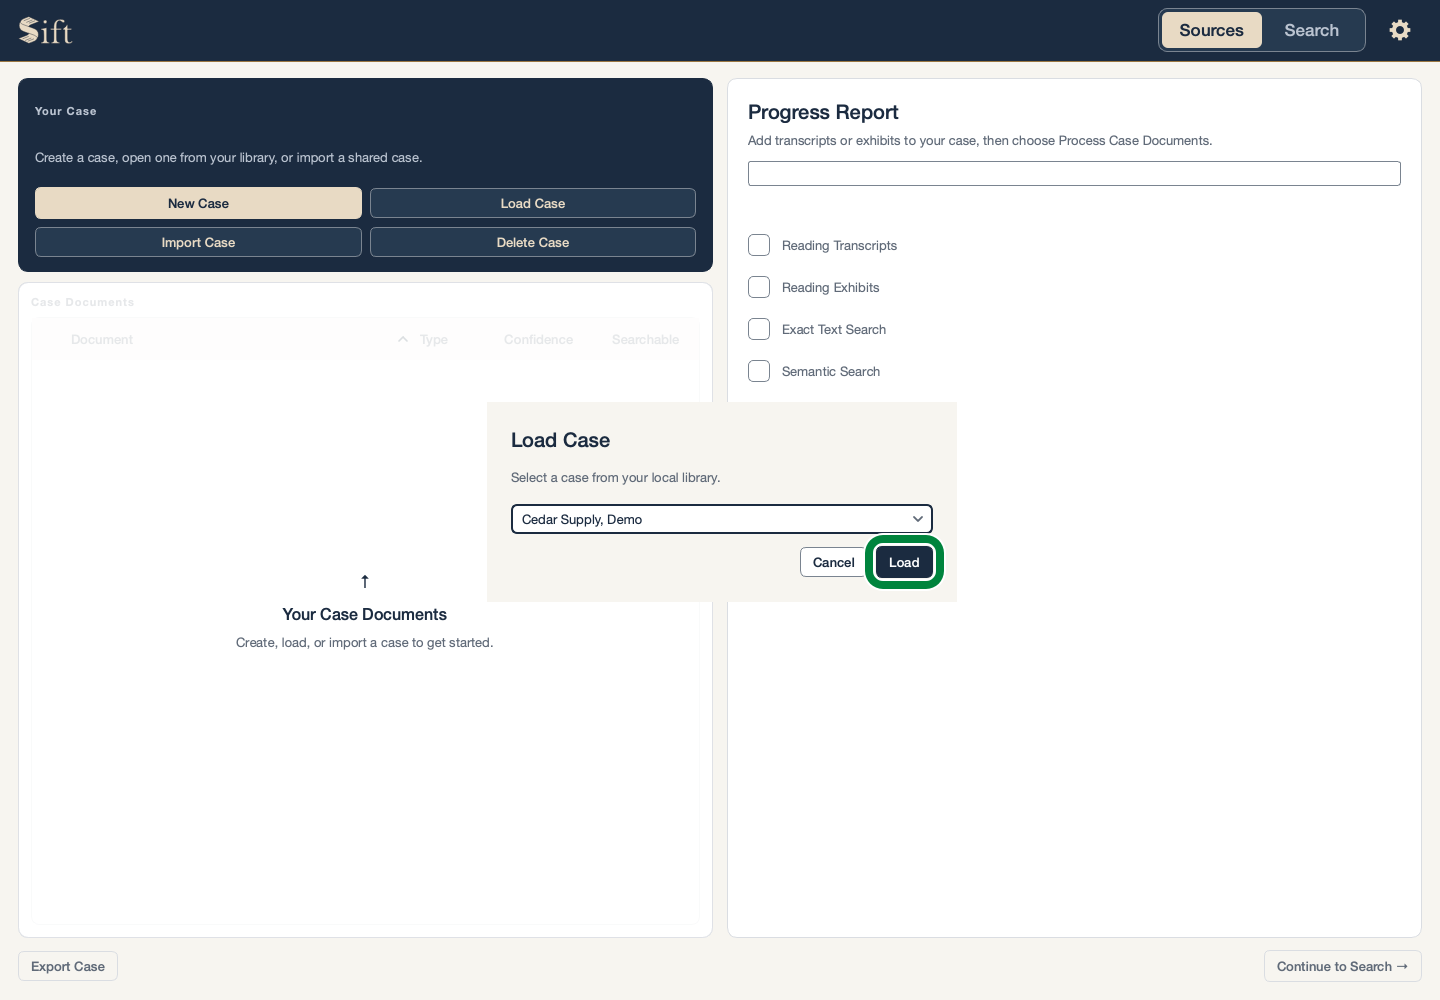
Click Load. The case’s documents appear on Sources.
Leave the Current Case
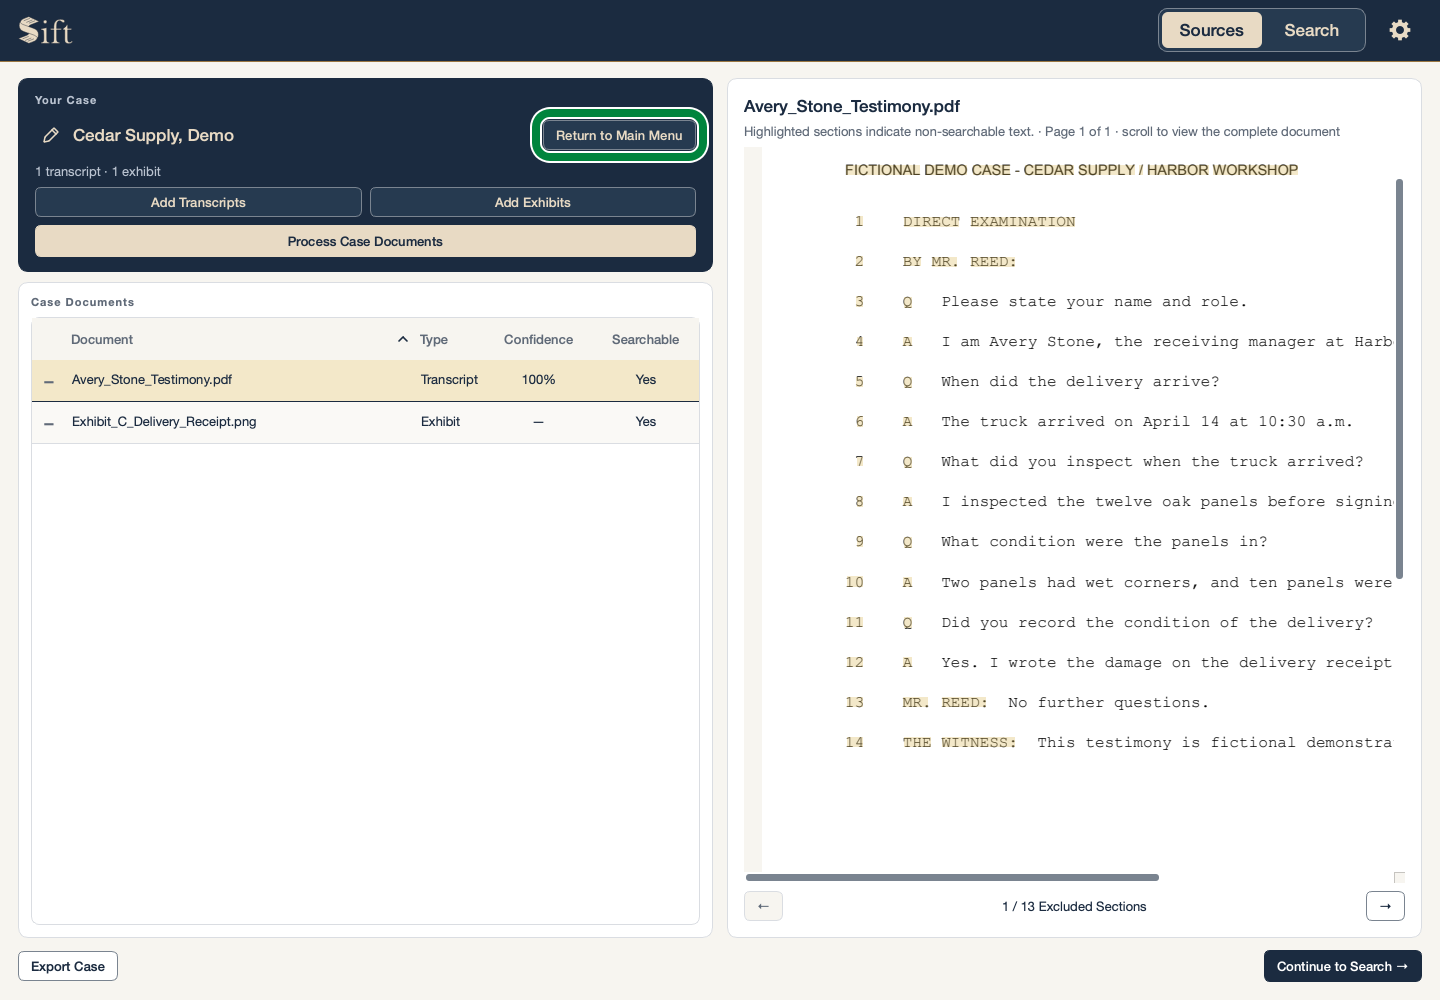
Click Return to Main Menu. The case closes and the saved-case buttons return. Your case remains saved.
Rename a Case
These steps begin with the case open on Sources.
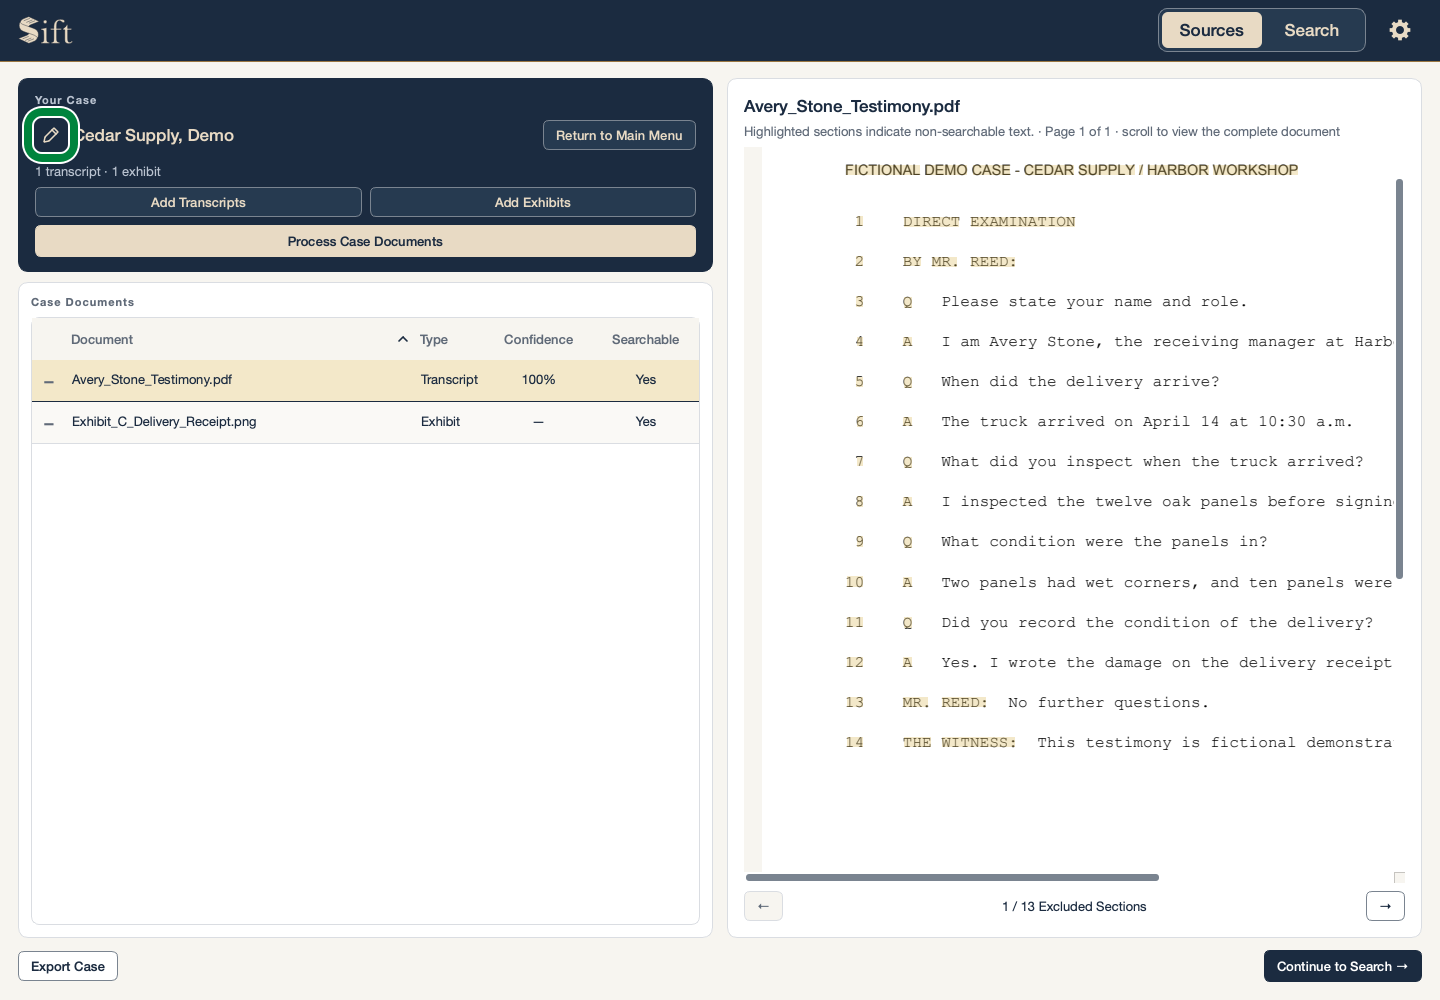
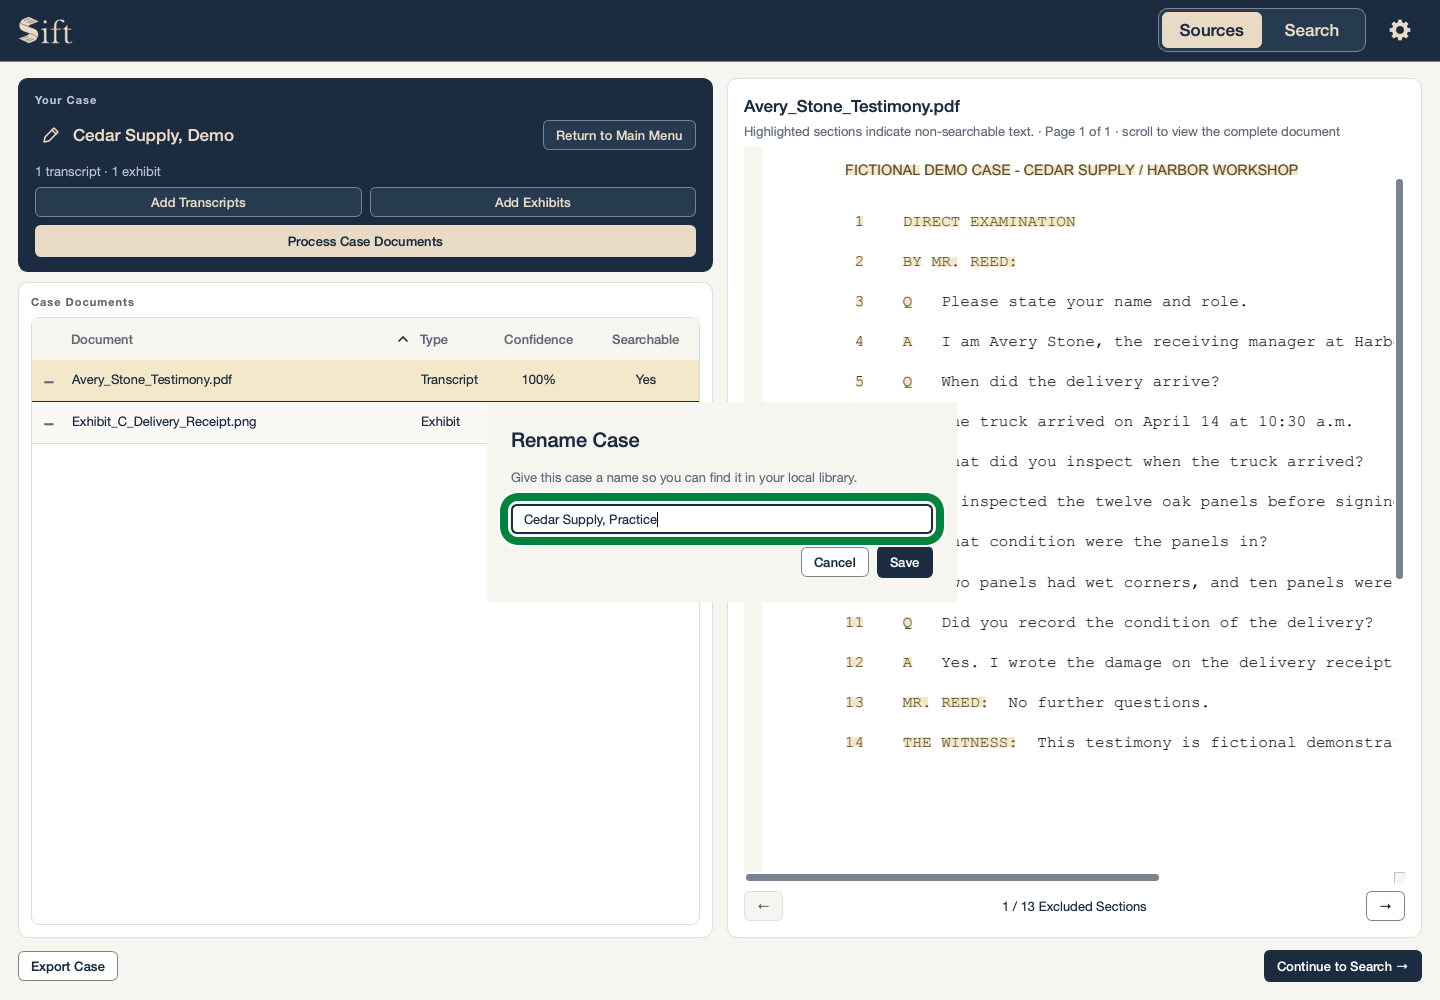
Click the pencil beside the case name. The Rename Case window opens.
Type the new name in Case Name. Each case needs a different name.
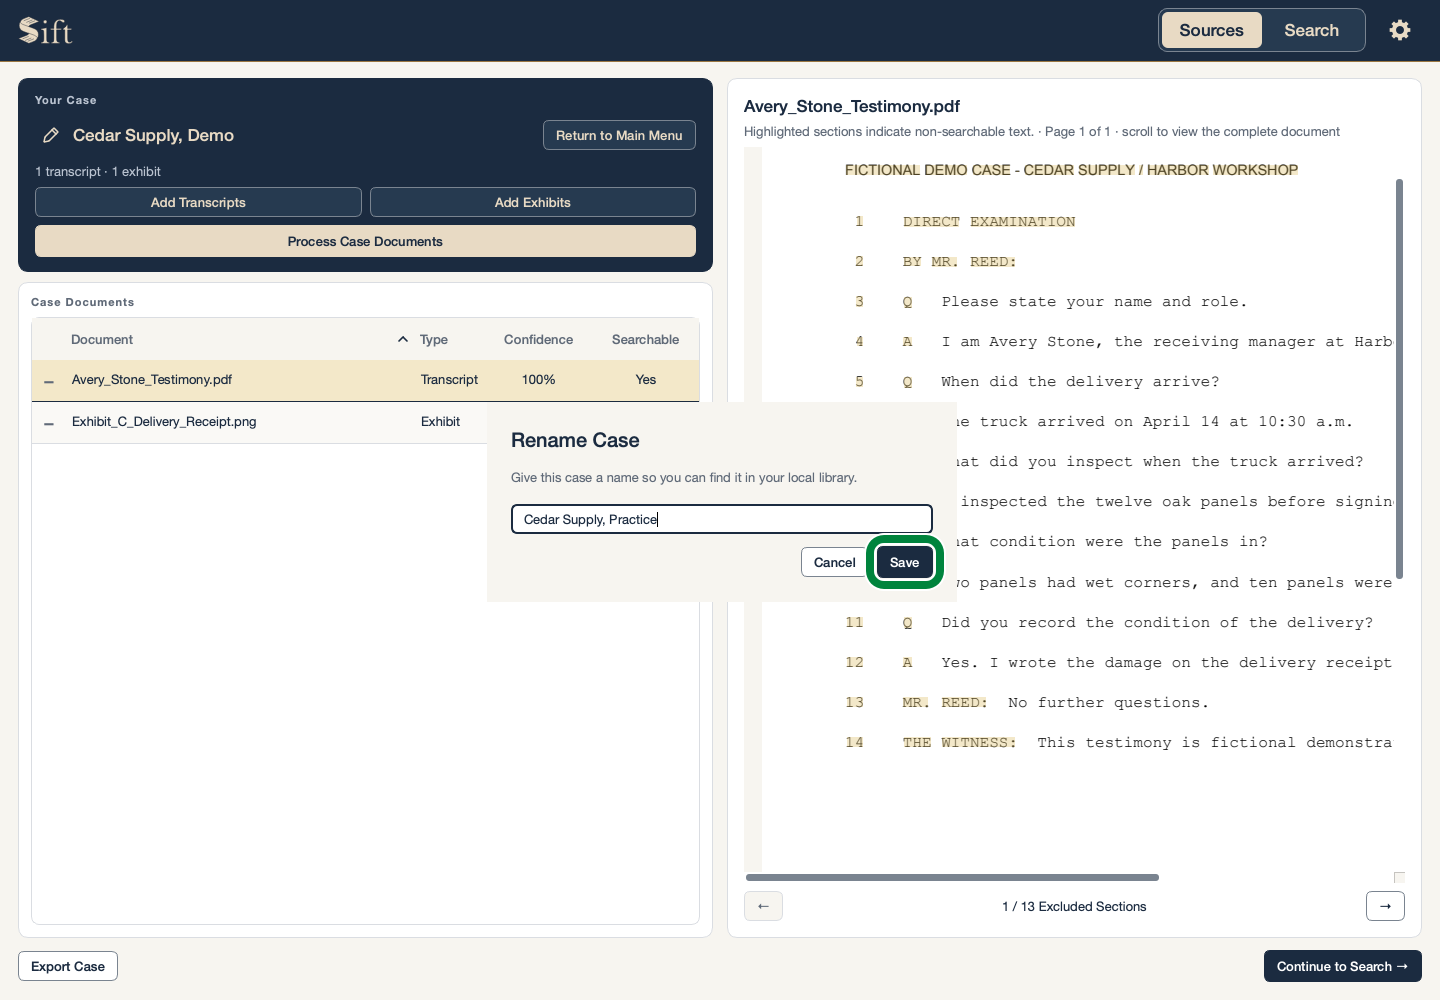
Click Save. The new name appears above the document list.
Add More Documents
Add Transcripts is for testimony. Add Exhibits is for other case material. The illustrated first-case instructions show the file-selection windows.
New documents show as pending until they are ready for search. The document preparation instructions explain that step.
| Kind of document | Examples Sift can read |
|---|---|
| Transcripts | Text files and PDFs, including readable scans and condensed reporter pages |
| Exhibits | PDFs, Word documents, presentations, spreadsheets, text files, and pictures containing text |
Not every file is readable. A blurry scan, handwriting, a password, or an unusual document layout can leave words unavailable to search. Sift displays warnings when it finds a problem.
Review a Document
Click a row in the Sources list. The document and its reading report appear beside the list.
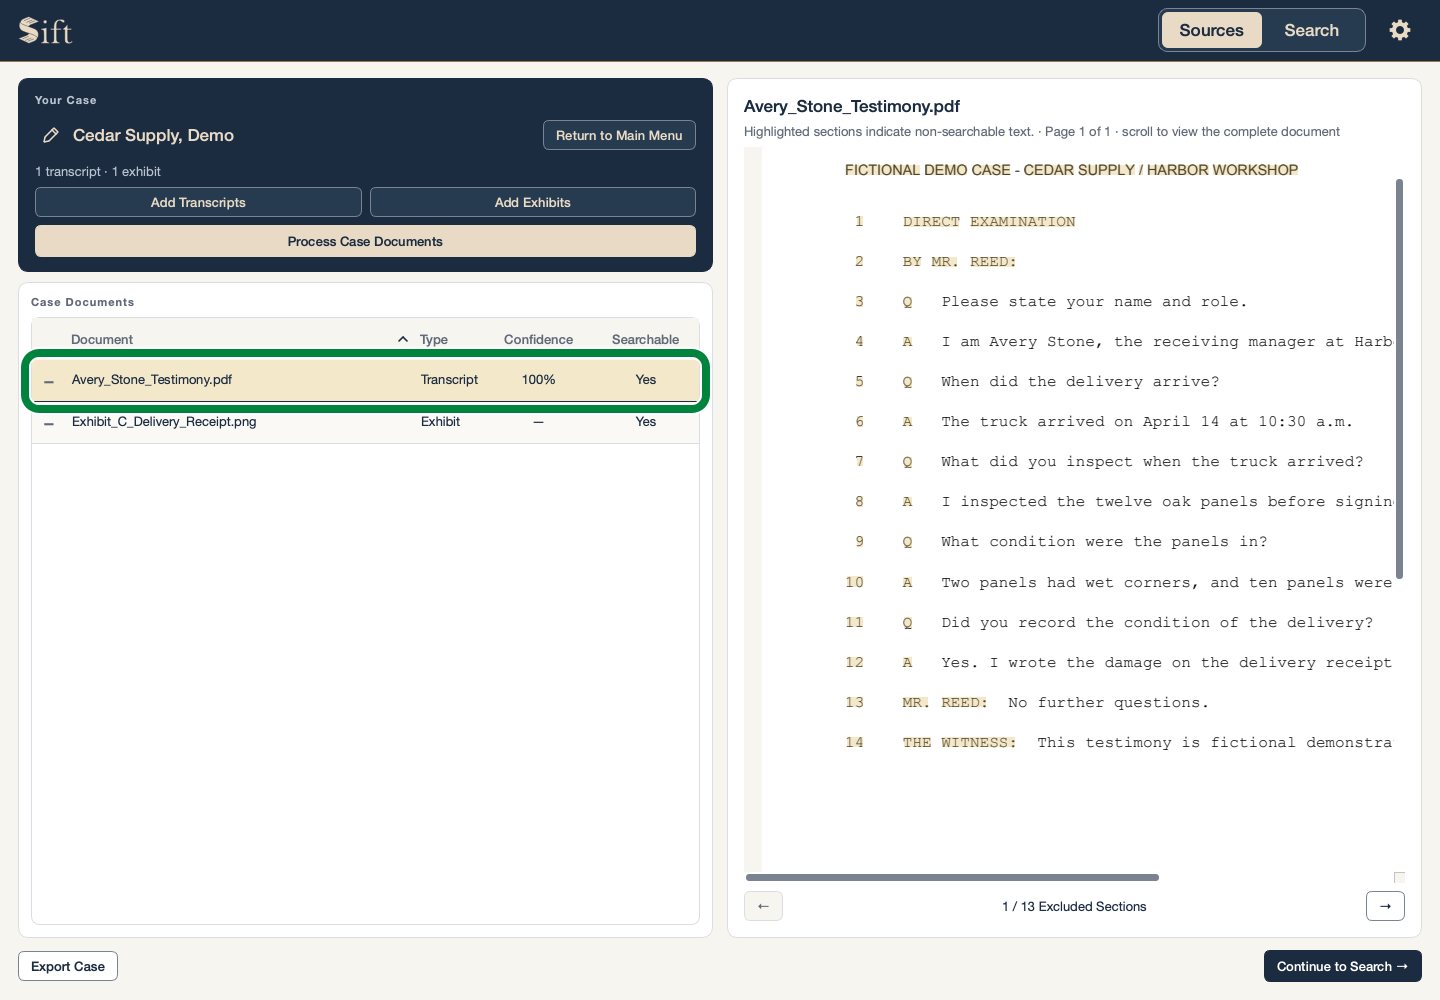
A document’s Pending status means it is not ready for search. A warning can mean only part of the document could be read. The visible original remains the place to verify wording.
Remove One Document
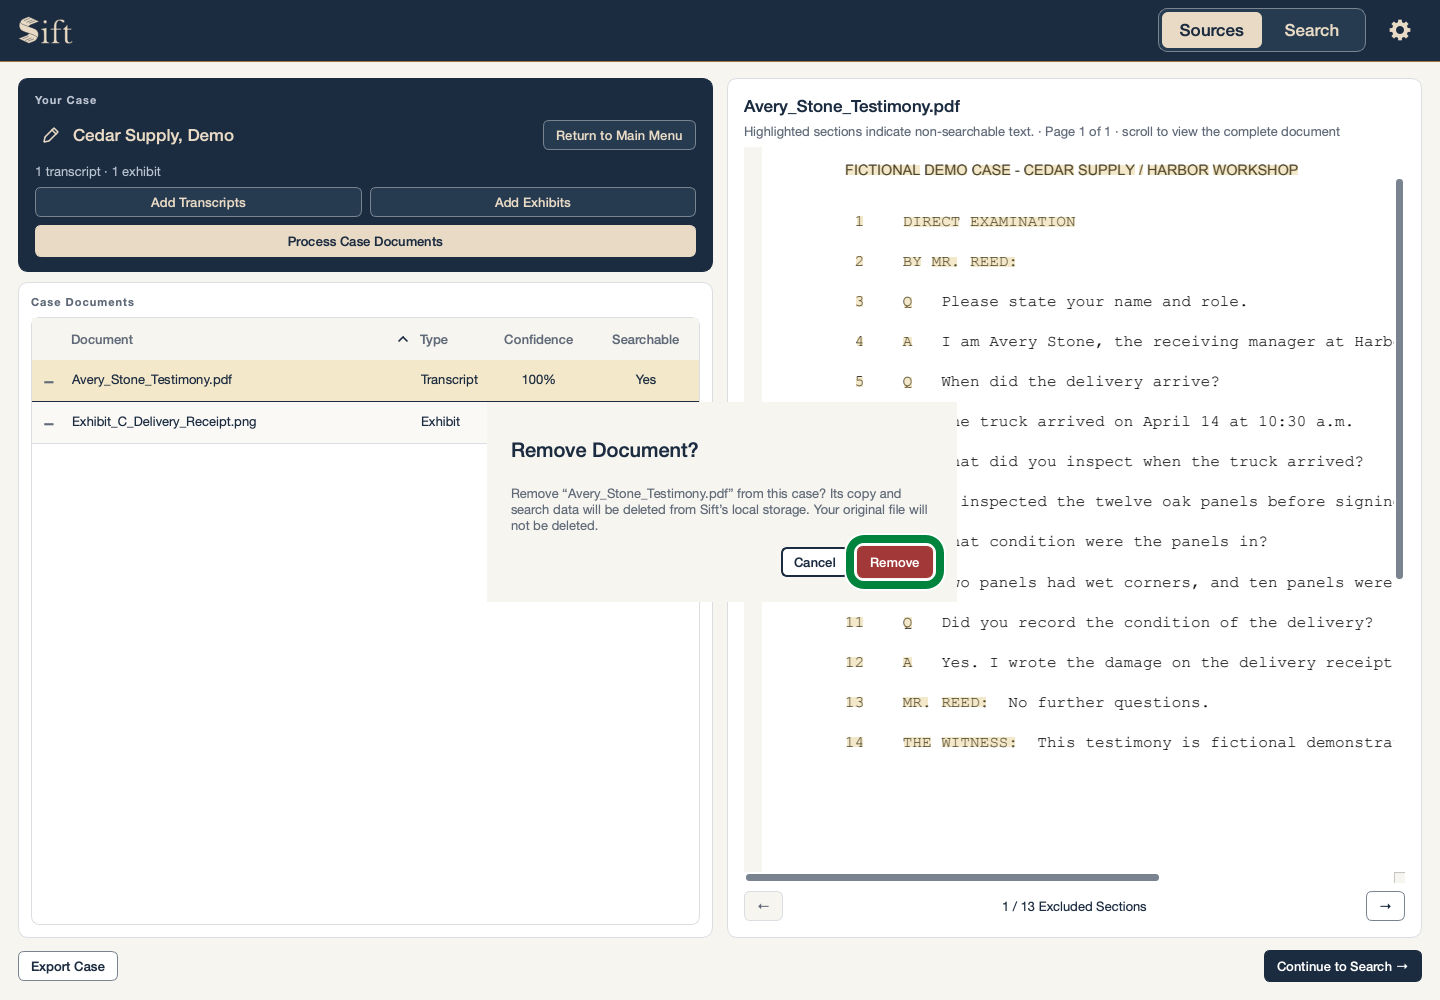
Removing a document deletes its copy from this Sift case. It does not delete the original file you added.
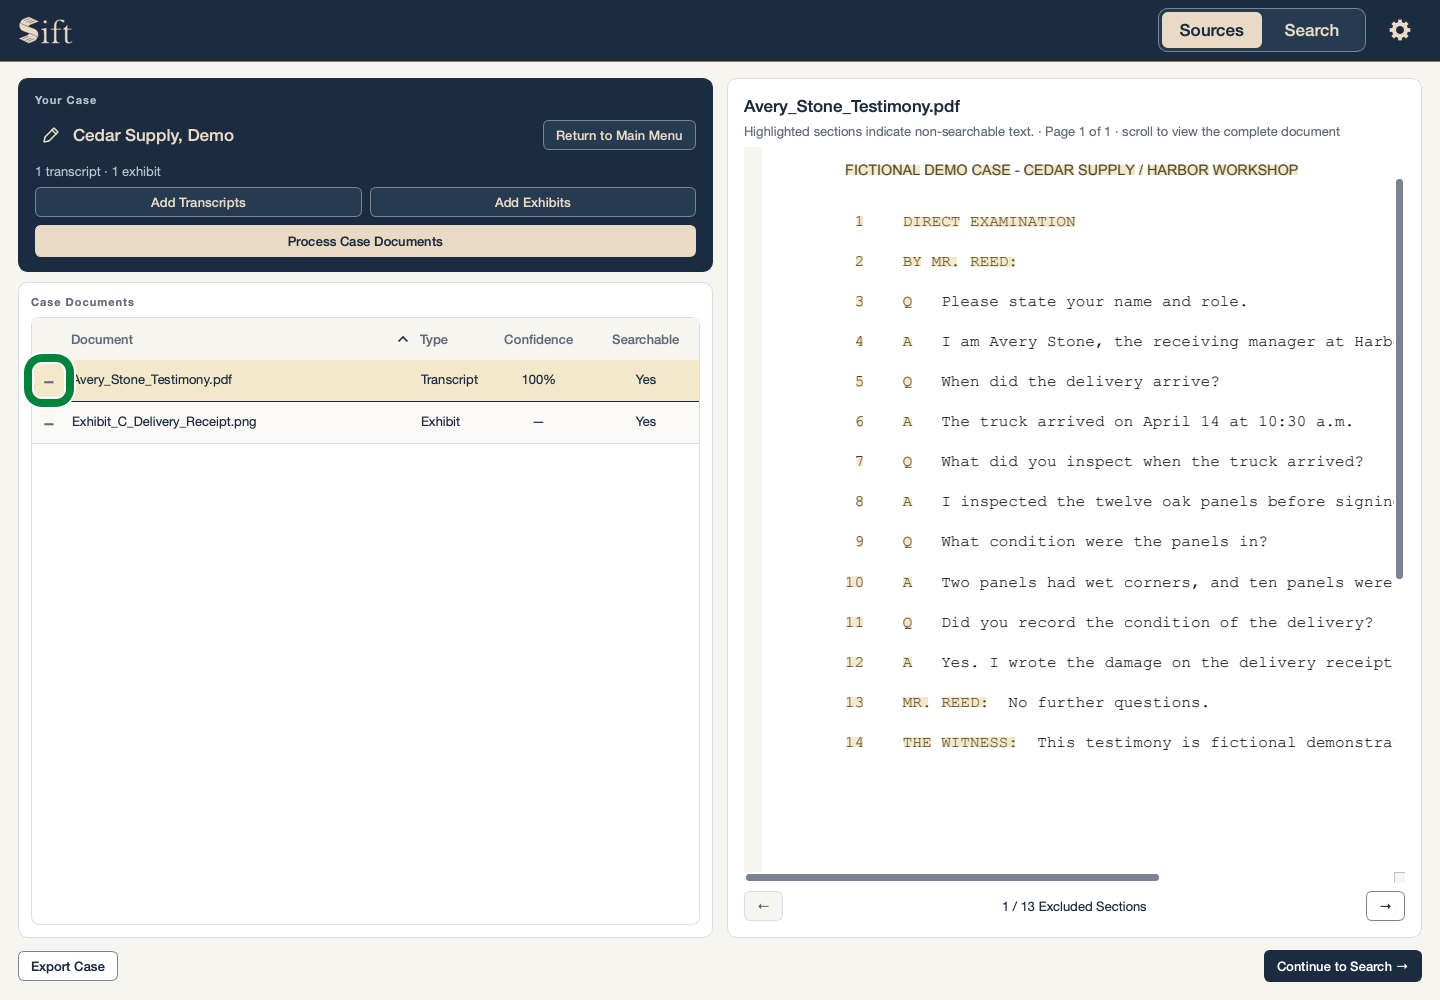
Click the minus button beside the document you want to remove. A confirmation window opens.
Click Remove if the document name is correct. The document disappears from this case.
Delete an Entire Case
Deletion permanently removes the case and its document copies from Sift. Your original files are not deleted. A separate backup is useful if you may need this Sift case again.
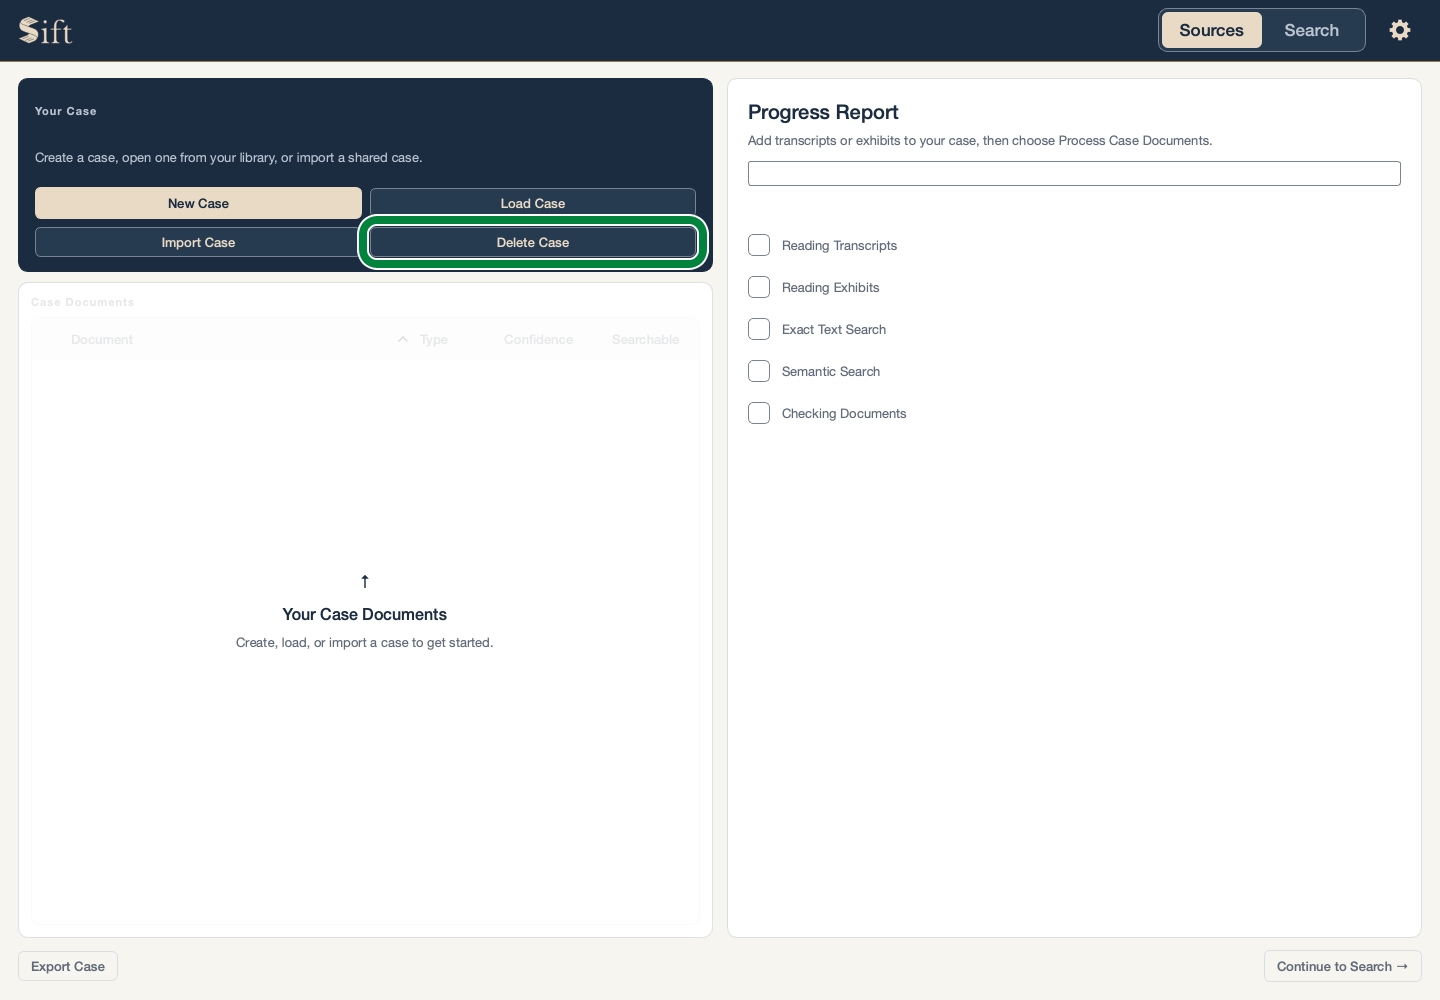
These steps begin with no case open on the Sources page.
Click Delete Case. A window lists the saved cases.
Choose the case name from Saved Cases.
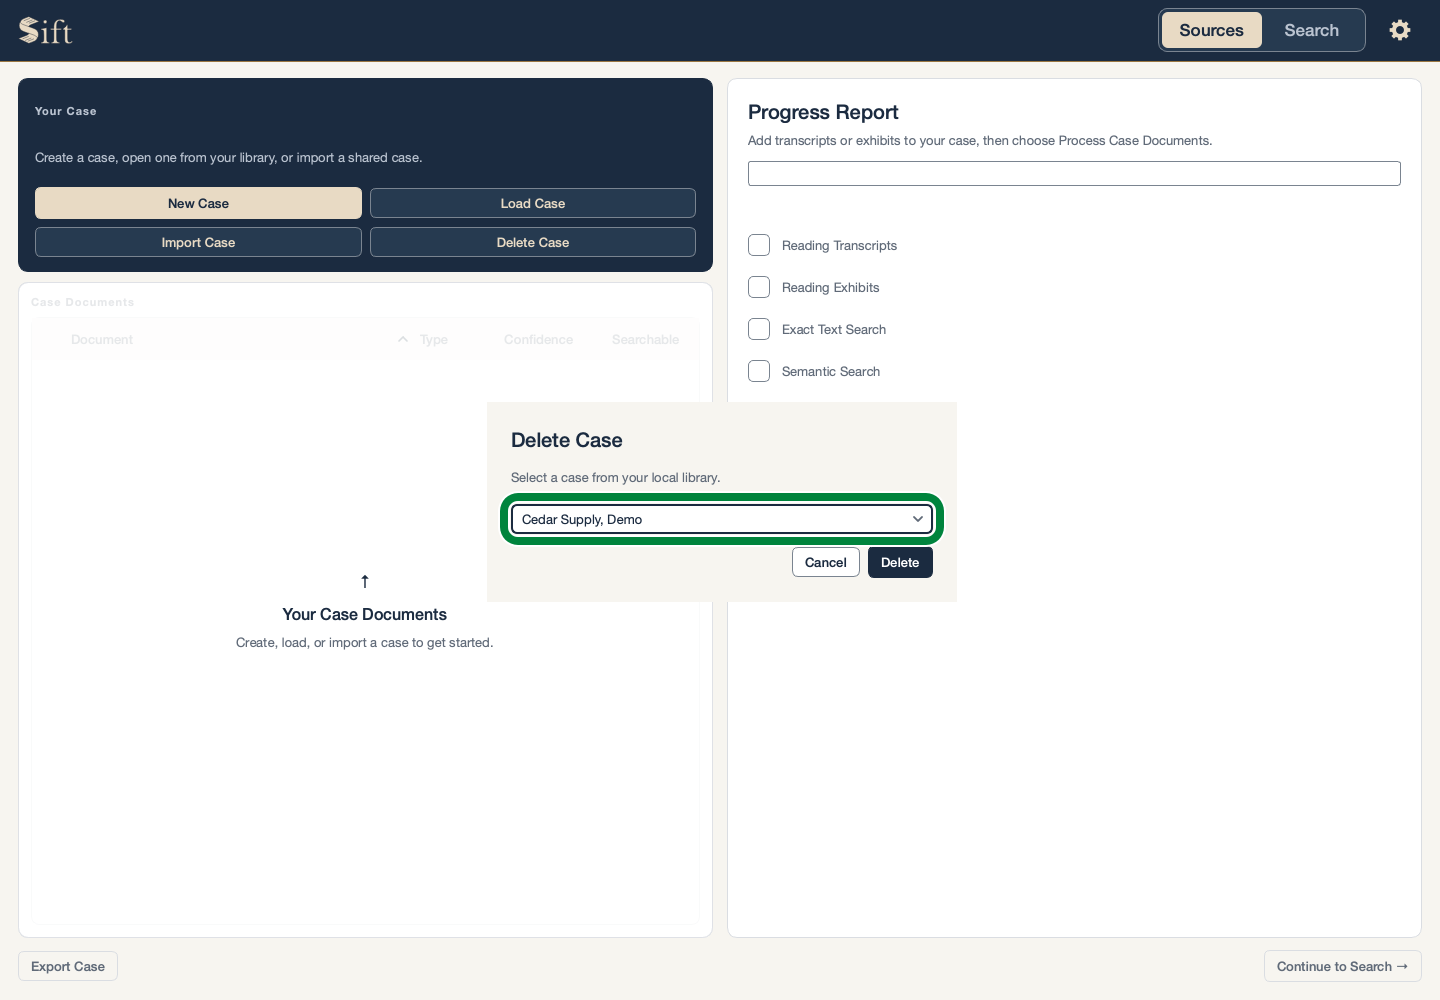
Click Delete. A final confirmation window identifies the case.
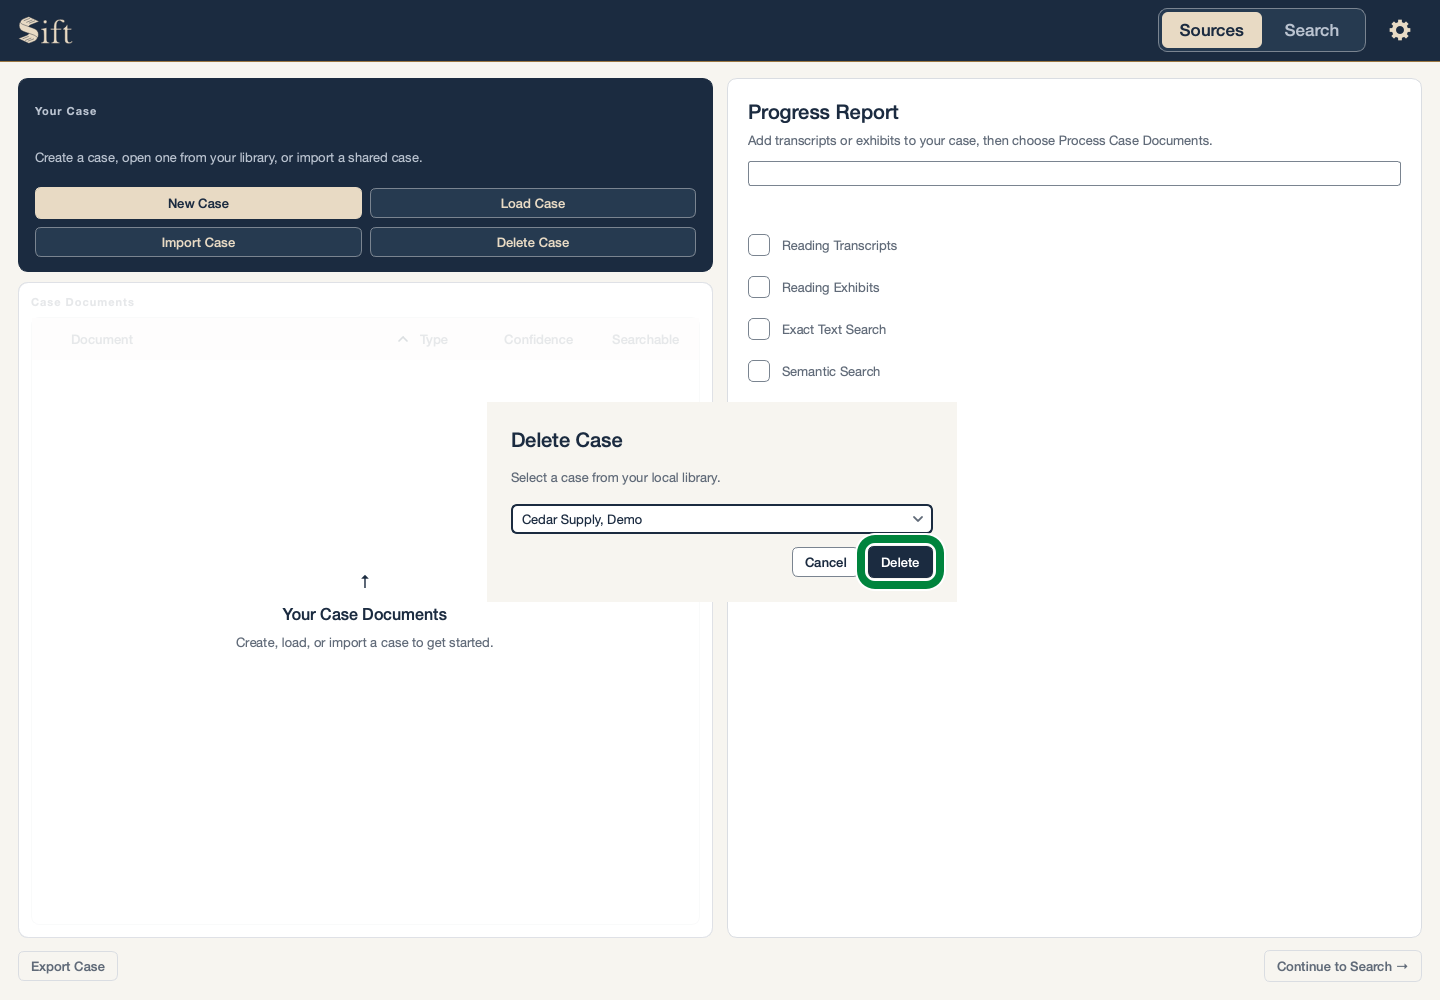
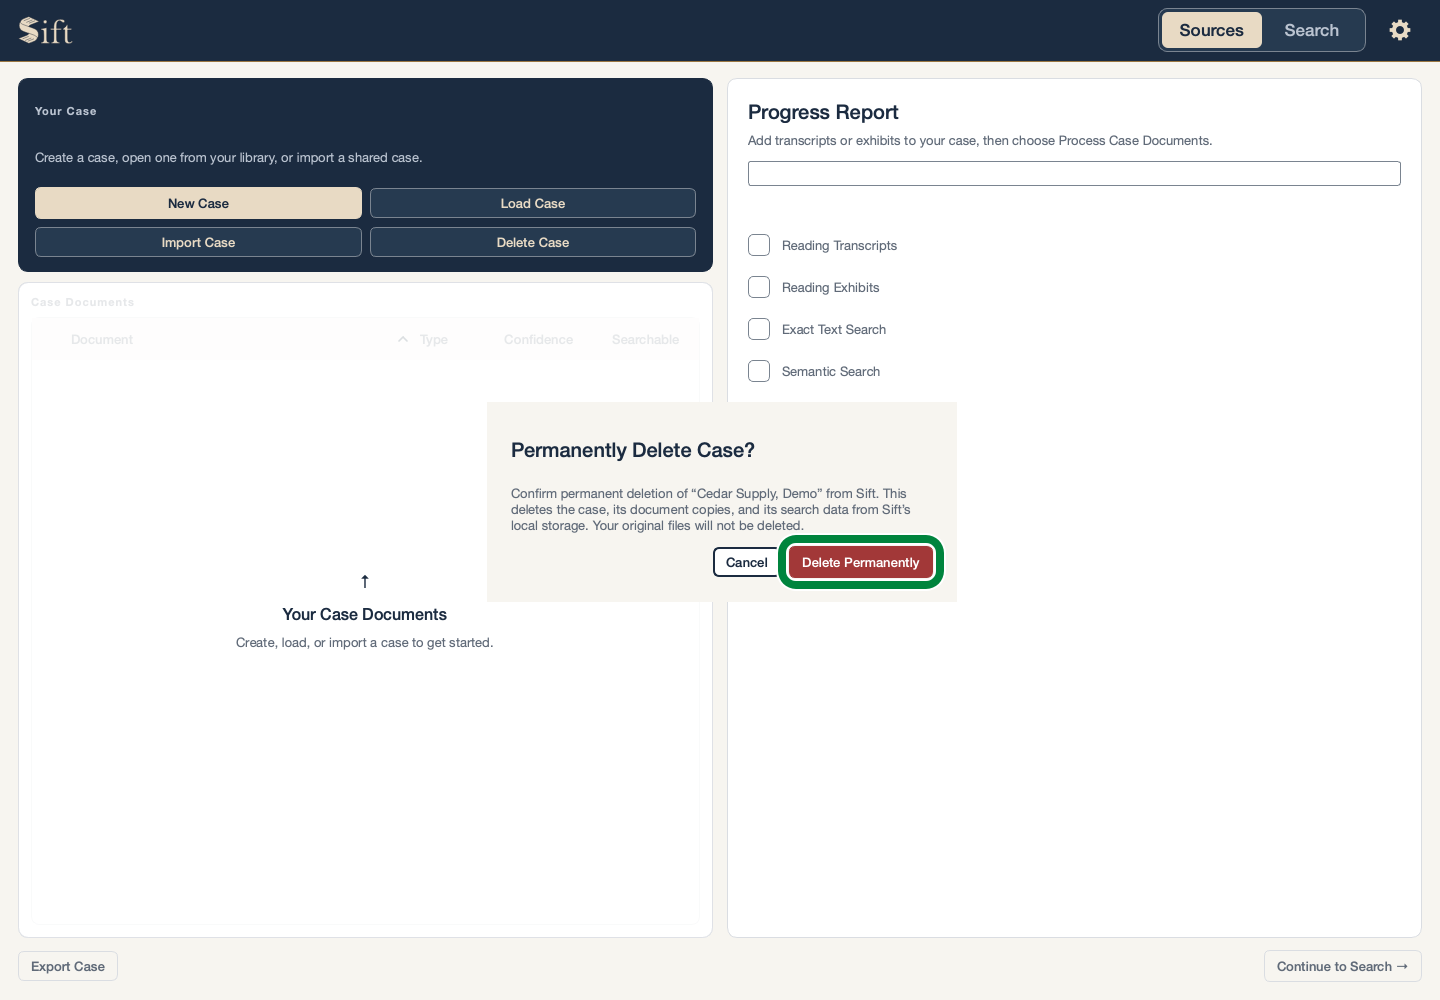
Click Delete Permanently only if the displayed name is the case you want to remove. The case is removed from Sift.